Posts

Showing posts from 2022

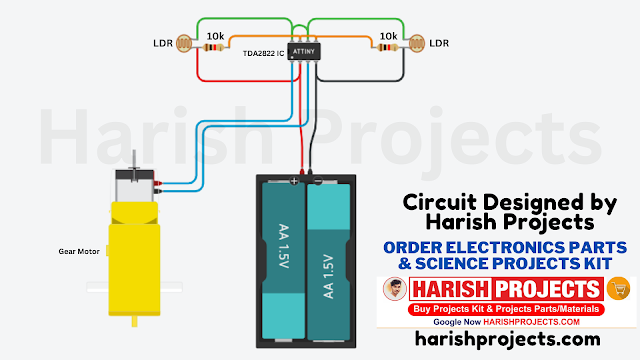
Sun Tracker Solar Panel - Circuit Diagram | Dual Axis Without Arduino | Harish Projects

Image
 Circuit Components List  1. TDA2822 IC 2x 2. 10k ohm Resistor 4x 3. 5mm LDR 4x 4. N20 Gear Motor 2x 5. N20 Wheel 6. Solar Panel  7. Zero PCB 8. Sunboard  9. 3.7v Small Battery  10. Charging Module 11. Tip Top Button Ordre all components from Here  Click here 👉  https://harishprojects.com/   …….. Circuit Diagram……….. ……….Watch full Detailed video………

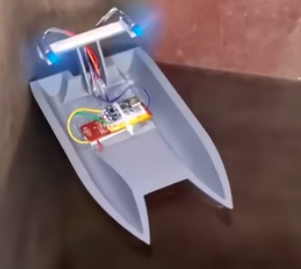
How to make 3D printed RC air boat with STL files #harishprojects #harishshorts

Image
Watch how to make video :   https://youtube.com/shorts/FHaBpCQIm_M?feature=share Download STL File :   https://drive.google.com/file/d/1mMJ6XRDr3gRkl02eFg90v1WGvWGfelnJ/view?usp=share_link For order 3D Printed Projects Contact Us on Instagram:    https://www.instagram.com/harishchoudhary70/

Diy Amazing mini drone/How to make 3D printed drone with STL Files #harishprojects #harishshorts

Image
 Watch how to make video 3D Drone:  https://youtube.com/shorts/7a3H43fCcBY?feature=share Project 3D STL File Link:  https://drive.google.com/file/d/1XwG7EO3qbTN3oJDFtmnTh4PyzTQ6J6cb/view?usp=share_link For order projects contact us on instagram:  https://www.instagram.com/harishchoudhary70/

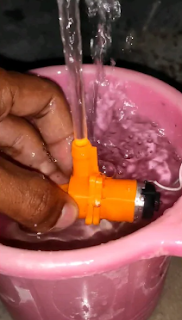
How to Make Mini Water Pump/3D Printed Water Pump using DC Motor #harishprojects #harishshorts

Image
Click here to watch project making video: https://youtube.com/shorts/QuK3NiQCF-A?feature=share Download STL File link the given link:  https://drive.google.com/file/d/1ul29eX8NSQC74O41FTx1MpUk05xkFGnN/view?usp=share_link For order 3D Printed Projects Contact Us on Instagram:   https://www.instagram.com/harishchoudhary70/

Mini Drone STL file for 3D Printing / Diy mini Drone Gone wrong | Crash हो गया 😢

Image
Download Project STL File Hit The DOWNLOAD Button

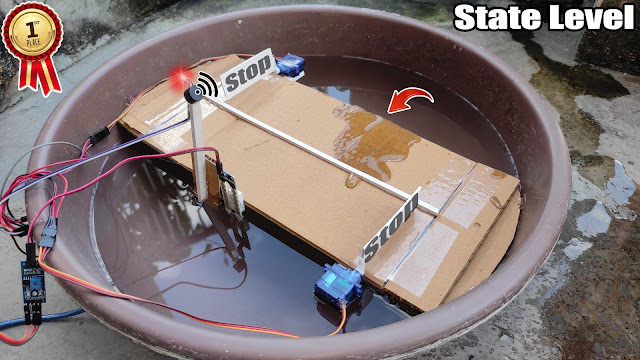
Automatic stop Gate for overflow | National Level Inspire Award Project 2023 / Harish Projects

Image
Automatic stop Gate for overflow | National Level Inspire Award Project Hello Guys. main hu Harish Choudhary. aaj ke is video me maine ek "National Level winning Project Banaya hai" is video ko aap complete watch krna kyuki maine is video me full detailed bataya hua hai, making connection, working etc.   //Project Code// #include <Servo.h> #include <Servo.h> Servo tap_servo; int sensor_pin = 4; int tap_servo_pin =5; int buzzer = 6; int val; void setup(){   pinMode(sensor_pin,INPUT);   pinMode(buzzer, OUTPUT);   tap_servo.attach(tap_servo_pin);    } void loop(){   val = digitalRead(sensor_pin);   if (val==0)   {tap_servo.write(0);   digitalWrite (buzzer, HIGH);   delay(1000);   digitalWrite (buzzer, LOW);   delay(1000);   }   if (val==1)   {tap_servo.write(90);    digitalWrite (buzzer,LOW);        } } //Project Diagram//

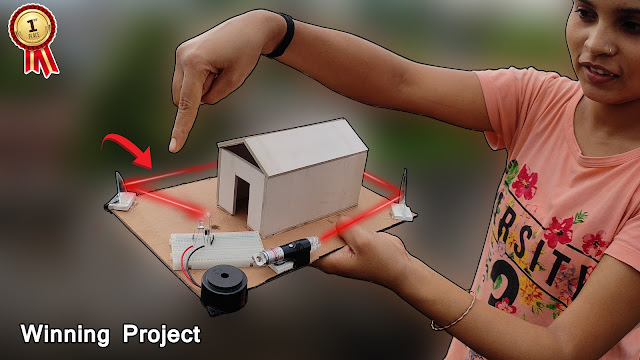
Inspire Award Project | Fingerprint Laser Security | Best science Project 2022 | Harish Projects

Image
  Fingerprint Laser Security for Door | Best science Project 2022 | Harish Projects Hello Guys. main hu Harish Choudhary. aaj ke is video me maine ek Fingerprint Laser Light security alarm banaya hai House ke liye. , 10th, 11th &12th class ke students ke liye hai. is video ko aap complete watch krna kyuki maine is video me full detailed bataya hua hai, making connection, working etc. .... Components List... Best Buying Links 1. Laser Light https://amzn.to/3z5KWJ6 2. BC547 Transistor https://amzn.to/3P6GEGT 3. 100k ohm Resistor https://amzn.to/3o33GCt 4. LDR https://amzn.to/3Rzhz8Z 5. 5mm Red LED https://amzn.to/3Ppcqyy 6. 3.7v Battery https://amzn.to/3cewR30 7. Wires https://amzn.to/3olgIf3 8. Sunboard sheet https://amzn.to/3z53Yzf 9. Cardboard https://amzn.to/3c8n1j3 10. Glue gun & Sticks https://amzn.to/3o12jUO 11. Switch Button https://amzn.to/3ATtgl5 12. Buzzer https://amzn.to/3o4cgRs 13. Breadboard https://amzn.to/3PaM7fG 14. Laser Diode https://amzn.to

How to make Password Lock for Doors| Harish Projects | Inspire Award Project

Image
//Click here to watch full video// Inspire Award Project | Best Project 2022 | Password Door Lock | Harish Projects Hello Guys. main hu Harish Choudhary. aaj ke is video me maine ek Password Door Lock banaya hai House ke liye. hum isme pass Code enter krke door ko unlock kar sakte hai. , 10th, 11th &12th class ke students ke liye hai. is video ko aap complete watch krna kyuki maine is video me full detailed bataya hua hai, making connection, working etc. Project Diagram https://harishprojectss.blogspot.com/?m=1 My YouTube Channels 1. Harish Vlogs https://youtu.be/Ot0LT_VOgWU 2. Harish Shorts 👇 https://youtube.com/channel/UC68VImYQ-DfXDT-j1wog5kg About this Video 1. About Project 2. Components 3. Model Making 4. Connections 6. Working Test Thanks for watching Subscribe for more .... Components List... Best Buying Links 1. Arduino & Cable https://amzn.to/3BOTcyC 2. 4x3 Matrix Keypad https://amzn.to/3d6GPUw 3. Servo Motor https://amzn.to/3d1Gxya 4. Jumper wires

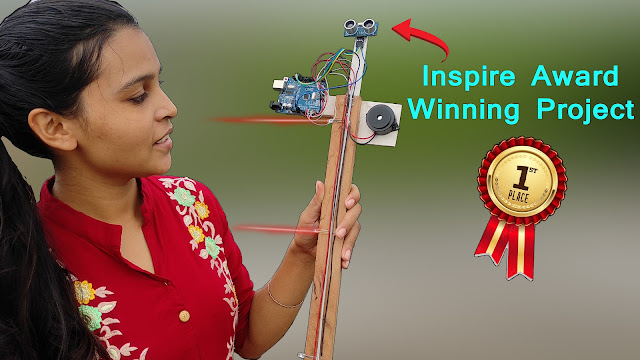
Inspire Award Project | Avoid Flooding बाढ़ से बचने के लिए Project | Best science Project 2022 | Harish Projects

Image
 About This Project:-  Hello Guys. main hu Harish Choudhary. aaj ke is video me maine ek बाढ़ से बचने के लिए एक Project banaya hai आजकल rainy season होने के वजह से कई जगह पर बाढ़ आ रही हैं। जैसे - असम, उत्तराखंड, बिहार और भी बहुत सी जगहें हैं। ये project बाढ़ से बचने के लिए हैं। , 10th, 11th &12th class ke students ke liye hai. is video ko aap complete watch krna kyuki maine is video me full detailed bataya hua hai, making connection, working etc. //A rduino Code:- // Circuits DIY // For Complete Details Visit -> YouTube - HARISH PROJECTS int rainPin = A0; int greenLED = 6; int redLED = 7; // you can adjust the threshold value int thresholdValue = 800; void setup(){ pinMode(rainPin, INPUT); pinMode(greenLED, OUTPUT); pinMode(redLED, OUTPUT); digitalWrite(greenLED, HIGH); digitalWrite(redLED, HIGH); Serial.begin(9600); } void loop() { // read the input on analog pin 0: int sensorValue = analogRead(rainPin); Serial.print(sensorValue); if(sensorValue <
Inspire Award Project | All in one Budget Project | Best science Project 2022 | Harish Projects

Image
 Watch full making video -  https://youtu.be/LXDAe6HZ3Dk Inspire Award Project | All in one Budget Project | Best science Project 2022 | Harish Projects Harish Projects | inspire Award Project | College science Project | All catagory project Available Hello Guys. main hu Harish Choudhary. aaj ke is video me maine ek All in one science Project banaya hai l. , 10th, 11th &12th class ke students ke liye hai. is video ko aap complete watch krna kyuki maine is video me full detailed bataya hua hai, making connection, working etc. //Arduino Code// const int trigPin = 12 ; const int echoPin = 13 ; const int LED1 = A0 ; const int LED2 = A1 ; const int LED3 = A2 ; const int LED4 = A3 ; const int LED5 = A4 ; const int LED6 = A5 ; const int LED7 = 2 ; int duration = 0 ; int distance = 0 ; void setup () { pinMode ( trigPin , OUTPUT ); pinMode ( echoPin , INPUT ); pinMode ( LED1 , OUTPUT ); pinMode ( LED2 ,

Inspire Award Project | Laser Security Alarm | Best science Project 2022 | Harish Projects

Image
 Watch full Making video -  https://youtu.be/1EH_fxebXEU   Connection Diagram -  For support.  Contact us on instagram -  https://instagram.com/harishchoudhary70?igshid=YmMyMTA2M2Y=

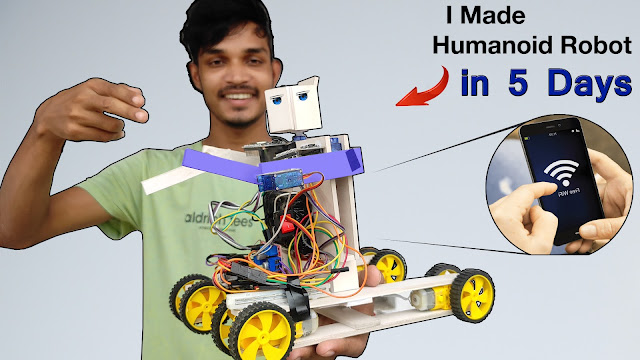
How to make Humanoid Robot using esp8266 | Humanoid Robot 2022 | Harish Projects

Image
  I made Humanoid Robot in 5 Days | Humanoid Robot 2022 | Harish Projects Hello Guys. main hu Harish Choudhary. aaj ke is video me maine ek Humanoid Robot banaya hai , 10th, 11th &12th class ke students ke liye hai. is video ko aap complete watch krna kyuki maine is video me full detailed bataya hua hai, making connection, working etc. About this Video 1. About Project 2. Components 3. Model Making 4. Esp8266 Connection 5. Servo motor Connection 6. Connect to Phone 7. Working Test Thanks for watching Video Elements NodeMCU Code #define ENA 14 // Enable/speed motors Right GPIO14(D5) #define ENB 12 // Enable/speed motors Left GPIO12(D6) #define IN_1 15 // L298N in1 motors Right GPIO15(D8) #define IN_2 13 // L298N in2 motors Right GPIO13(D7) #define IN_3 2 // L298N in3 motors Left GPIO2(D4) #define IN_4 0 // L298N in4 motors Left GPIO0(D3) #include <ESP826