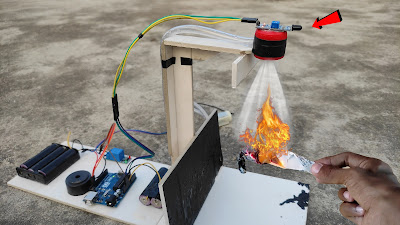
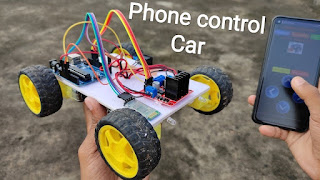
Dual Axis Mini CCTV Camera using ESP32 Cam | IOT Based Science Project / Harish Projects

Image
  Purchase Course Video👇 https://harishprojects.graphy.com/ Watch full Detailed Video👇 Project Code👇 #include "esp_camera.h" #include <Arduino.h> #include <WiFi.h> #include <AsyncTCP.h> #include <ESPAsyncWebServer.h> #include <iostream> #include <sstream> #include <ESP32Servo.h> #define PAN_PIN 14 #define TILT_PIN 15 Servo panServo; Servo tiltServo; struct MOTOR_PINS {   int pinEn;     int pinIN1;   int pinIN2;     } ; std::vector<MOTOR_PINS> motorPins = {   { 2 , 12 , 13 } , //RIGHT_MOTOR Pins (EnA, IN1, IN2)   { 2 , 1 , 3 } ,  //LEFT_MOTOR  Pins (EnB, IN3, IN4) } ; #define LIGHT_PIN 4 #define UP 1 #define DOWN 2 #define LEFT 3 #define RIGHT 4 #define STOP 0 #define RIGHT_MOTOR 0 #define LEFT_MOTOR 1 #define FORWARD 1 #define BACKWARD - 1 const int PWMFreq = 1000 ; /* 1 KHz */ const int PWMResolution = 8 ; const int PWMSpeedChannel = 2 ;...

Automatic fire extinguisher - for fire Prevention Best Project | inspire Award Project - Arduino Codes & Diagram / Harish Projects


                                           YouTube video link - https://youtu.be/B_FlEjyJwd4


                                                                ..........Arduino code.............


int flame=0;// select analog pin 0 for the sensor

int Beep=9;// select digital pin 9 for the buzzer

int val=0;// initialize variable

int relay= 13;


/* The setup() function is called when a sketch starts. It is used to initialize variables, pin modes, start using libraries, etc. This function will only run once, after each power up or reset of the Arduino board. */


void setup()

{

 pinMode(Beep,OUTPUT);// set buzzer pin as “output”

pinMode(relay,OUTPUT);// set LED pin as “output”

pinMode(flame,INPUT);// set flame pin as “input”

Serial.begin(9600);// set baud rate at “9600”

}


/* The loop() function executes the program repeatedly until Specified. */


void loop()

{

 val=analogRead(flame);// read the analog value of the sensor

 Serial.println(val);// output and display the analog value

 if(val>=500)// when the analog value is larger than 600, the buzzer will buzz

 {

 digitalWrite(Beep,HIGH);

 digitalWrite(relay,HIGH);

 }else

 {

 digitalWrite(Beep,LOW);

 digitalWrite(relay,LOW);

 }

 delay(500);

}


                                                            ...........Project Diagram...........


Comments

12hello said…
BRO PCB DESIGN????????????????????????
Unknown said…
Bro please
Reply
My project works ulta
Unknown said…
Code kya hai bhai

Popular posts from this blog

Smart Bridge - Automatic Hight increase when flooding | Best science Project

How to make Phone control RC car using Arduino #phoneControlCar

How to make Wifi Talking robot with arduino codes and Diagram best science project