Posts

Showing posts from April, 2022

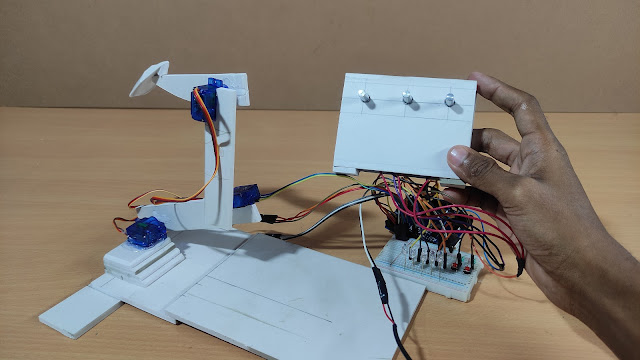
Dual Axis Mini CCTV Camera using ESP32 Cam | IOT Based Science Project / Harish Projects

Image
  Purchase Course Video👇 https://harishprojects.graphy.com/ Watch full Detailed Video👇 Project Code👇 #include "esp_camera.h" #include <Arduino.h> #include <WiFi.h> #include <AsyncTCP.h> #include <ESPAsyncWebServer.h> #include <iostream> #include <sstream> #include <ESP32Servo.h> #define PAN_PIN 14 #define TILT_PIN 15 Servo panServo; Servo tiltServo; struct MOTOR_PINS {   int pinEn;     int pinIN1;   int pinIN2;     } ; std::vector<MOTOR_PINS> motorPins = {   { 2 , 12 , 13 } , //RIGHT_MOTOR Pins (EnA, IN1, IN2)   { 2 , 1 , 3 } ,  //LEFT_MOTOR  Pins (EnB, IN3, IN4) } ; #define LIGHT_PIN 4 #define UP 1 #define DOWN 2 #define LEFT 3 #define RIGHT 4 #define STOP 0 #define RIGHT_MOTOR 0 #define LEFT_MOTOR 1 #define FORWARD 1 #define BACKWARD - 1 const int PWMFreq = 1000 ; /* 1 KHz */ const int PWMResolution = 8 ; const int PWMSpeedChannel = 2 ;...

Inspire Award Project | Smart Helmet Alcohol Detection for Drivers | Best science Project | Harish Projects

Image
  Watch Making video.... //Arduino Code// #define sensorDigital A0 #define Motor 9 #define buzzer 8 #define sensorAnalog A1 void setup() {   pinMode(sensorDigital, INPUT);     pinMode(Motor, OUTPUT);       pinMode(buzzer, OUTPUT);         Serial.begin(9600);         }         void loop() {           bool digital = digitalRead(sensorDigital);             int analog = analogRead(sensorAnalog);   Serial.print("Analog value : ");     Serial.print(analog);       Serial.print("t");         Serial.print("Digital value :");           Serial.println(digital);   if (digital == 0) {       digitalWrite(Motor, HIGH);           digitalWrite(buzzer, HIGH);             } else {         ...

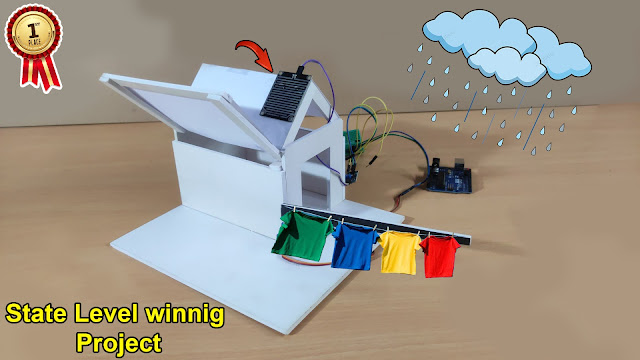
Inspire Award Project | Automatic कपड़ो को बारिश से बचाएगा Best state level science Project | Harish Projects

Image
//Arduino code// #include <Servo.h> #include <Servo.h> Servo tap_servo; int sensor_pin = 4; int tap_servo_pin =5; int val; void setup(){   pinMode(sensor_pin,INPUT);   tap_servo.attach(tap_servo_pin);    } void loop(){   val = digitalRead(sensor_pin);   if (val==0)   {tap_servo.write(0);   }   if (val==1)   {tap_servo.write(180);     } } //Project Diagram// Contact us for support -  https://www.instagram.com/harishchoudhary70/

How to make Simple Programmable Robotic Arm using Arduino \ Harish Projects

Image
  COMPONENTS AND SUPPLIES Arduino UNO Can be any 5V Arduino board such as the mega × 1 Breadboard (generic) × 1 Jumper wires (generic) × 1 Rotary potentiometer (generic) × 3 SparkFun Pushbutton switch 12mm × 3 LED (generic) × 5 Resistor 221 ohm × 5 Capacitor 10 µF Optional; you don't need it if you don't have it × 1 Servos (Tower Pro MG996R) I recommend micro servos as they draw less power × 3 Resistor 10k ohm × 2 ABOUT THIS PROJECT About This is just a simple robot arm made out of readily available materials and instruments, such as micro servos, cardboard, and hot glue, designed for beginners. The code and circuit can be improved, so feel free to make changes and learn! Features It can record and play five positions using potentiometers and buttons. (But you can add as many as you want). Making video. //Arduino Code// //Code written by Ryan Chan; it is pretty inefficient, but gets the job done, I challenge you to make it more efficient! //*IMPORTANT CHANGES IN VERSION 2: LE...